前回からの続きです。
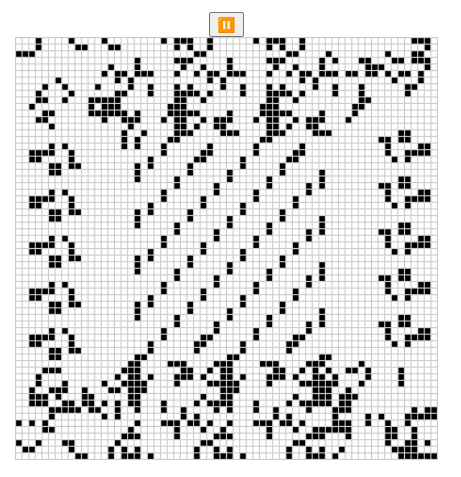
ゲームの一時停止と再生機能
まずはゲームの一時停止と再生ができるようにコードを修正します。
実装はJS内のみで完結できます。
www/index.htmlに新しくボタンを追加します。
  <body>
    <noscript>This page contains webassembly and javascript content, please enable javascript in your browser.</noscript>
    <!-- ボタンを追加 -->
    <button id="play-pause"></button>
    <canvas id="game-of-life-canvas"></canvas>
    <script src="./bootstrap.js"></script>
  </body>
次にこのボタンに対するハンドラの実装を行います。
// requestAnimationFrameが発行する返り値を格納する変数
// https://developer.mozilla.org/ja/docs/Web/API/window/requestAnimationFrame
let animationId = null;

// 再生/停止を行うボタンを取得
const playPauseButton = document.getElementById("play-pause");

// 再生時のハンドラを実装
const play = () => {
  playPauseButton.textContent = "⏸";
  renderLoop();
};

// 停止時のハンドラを実装
const pause = () => {
  playPauseButton.textContent = "▶";
  cancelAnimationFrame(animationId);
  animationId = null;
};

// 停止しているか判定する関数
const isPaused = () => {
  return animationId === null;
};

// 再生/停止ボタンにイベントリスナーを追加
playPauseButton.addEventListener("click", (event) => {
  if (isPaused()) {
    play();
  } else {
    pause();
  }
});

const renderLoop = () => {
  universe.tick();

  drawGrid();
  drawCells();

  animationId = requestAnimationFrame(renderLoop); // requestAnimationFrameの返り値を設定
};

drawGrid();
drawCells();
play(); // requestAnimationFrame(renderLoop);をplay関数に置き換え
これで再生/停止ボタンが使えるようになります!
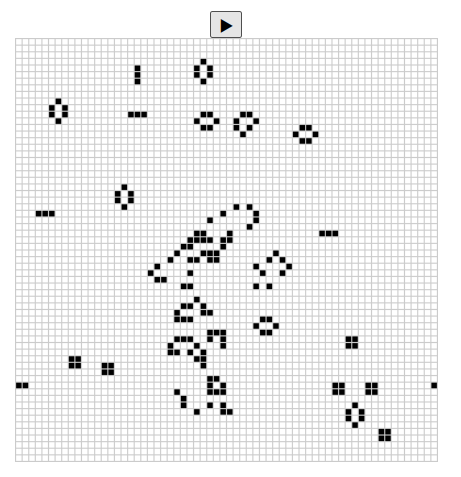
セルの生死を切り替えるボタンを実装する
こっちの方が先ほどより面白いです。
セルの生死をまるっきり入れ替えてみましょう。
まずはlib.rsのCellにtoggle関数をに実装します。
impl Cell {
    // セルの状態を反転させる
    fn toggle(&mut self) {
        *self = match *self {
            Cell::Dead => Cell::Alive,
            Cell::Alive => Cell::Dead,
        };
    }
}
次に、JSから見えるUniverseに指定されたセルを反転させる関数を実装します。
#[wasm_bindgen]
impl Universe {
    // ...

    // 指定されたセルの状態を反転させる
    pub fn toggle_cell(&mut self, row: u32, column: u32) {
        let idx = self.get_index(row, column);
        self.cells[idx].toggle();
    }
}
これで準備ができました。
あとはこのtoggle_cell関数を呼び出すハンドラをwww/index.jsに実装すれば終わりです。
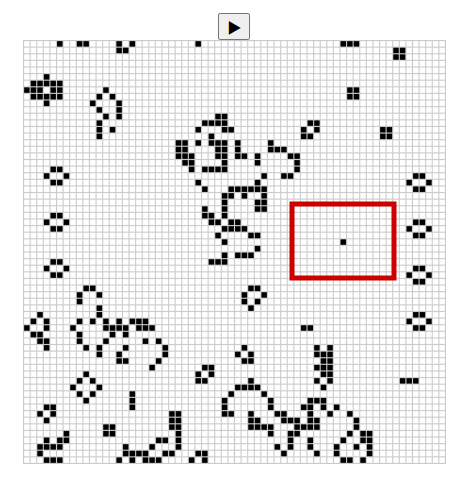
キャンバスの指定のセルをクリックしたら、そのクリックされた場所の座標を読みとってrowとcolを取得し、対象セルを反転させるようにします。
canvas.addEventListener("click", (event) => {
  // キャンバスの左上を原点とした座標を取得
  // 参考:
  // https://developer.mozilla.org/ja/docs/Web/API/Element/getBoundingClientRect
  // https://gxy-life.com/2PC/PC/PC%2020200805.html
  const boundingRect = canvas.getBoundingClientRect();

  const scaleX = canvas.width / boundingRect.width;
  const scaleY = canvas.height / boundingRect.height;

  // クリックされた座標をキャンバスの左上を原点とした座標に変換します
  const canvasLeft = (event.clientX - boundingRect.left) * scaleX;
  const canvasTop = (event.clientY - boundingRect.top) * scaleY;

  const row = Math.min(Math.floor(canvasTop / (CELL_SIZE + 1)), height - 1);
  const col = Math.min(Math.floor(canvasLeft / (CELL_SIZE + 1)), width - 1);

  universe.toggle_cell(row, col);

  drawGrid();
  drawCells();
});
ビルドして実行してみます。
wasm-pack build && (cd www && npm start)
作成できるようになりました。

まとめ
今回は新たな機能を追加しました。
あまりwasmっぽいことはしませんでしたが、Rustは面白いですね。
チュートリアルはまだ続くので、次回をお楽しみに。